Blog Post #6, Week 10: Final Labs
- Henry Miller
- Jun 3, 2024
- 5 min read
Updated: Jun 17, 2024
Concrete Run at Home Depot

Our group hit an unexpected roadblock this week when their professor ran short on the concrete materials needed for projects. With prudent planning, our group volunteered to make a supply run to Home Depot to restock the vital resources.
Concrete is one of the most heavily utilized materials this semester as students explore its versatile applications in sustainable design. However, we had reservations about its environmental impact through manufacturing and waste. Our professor assured everyone that no concrete would go to waste - he intended to take all final products home and repurpose them himself.
With those concerns alleviated, we got our gloves on and started mixing...
Testing Container Sizes

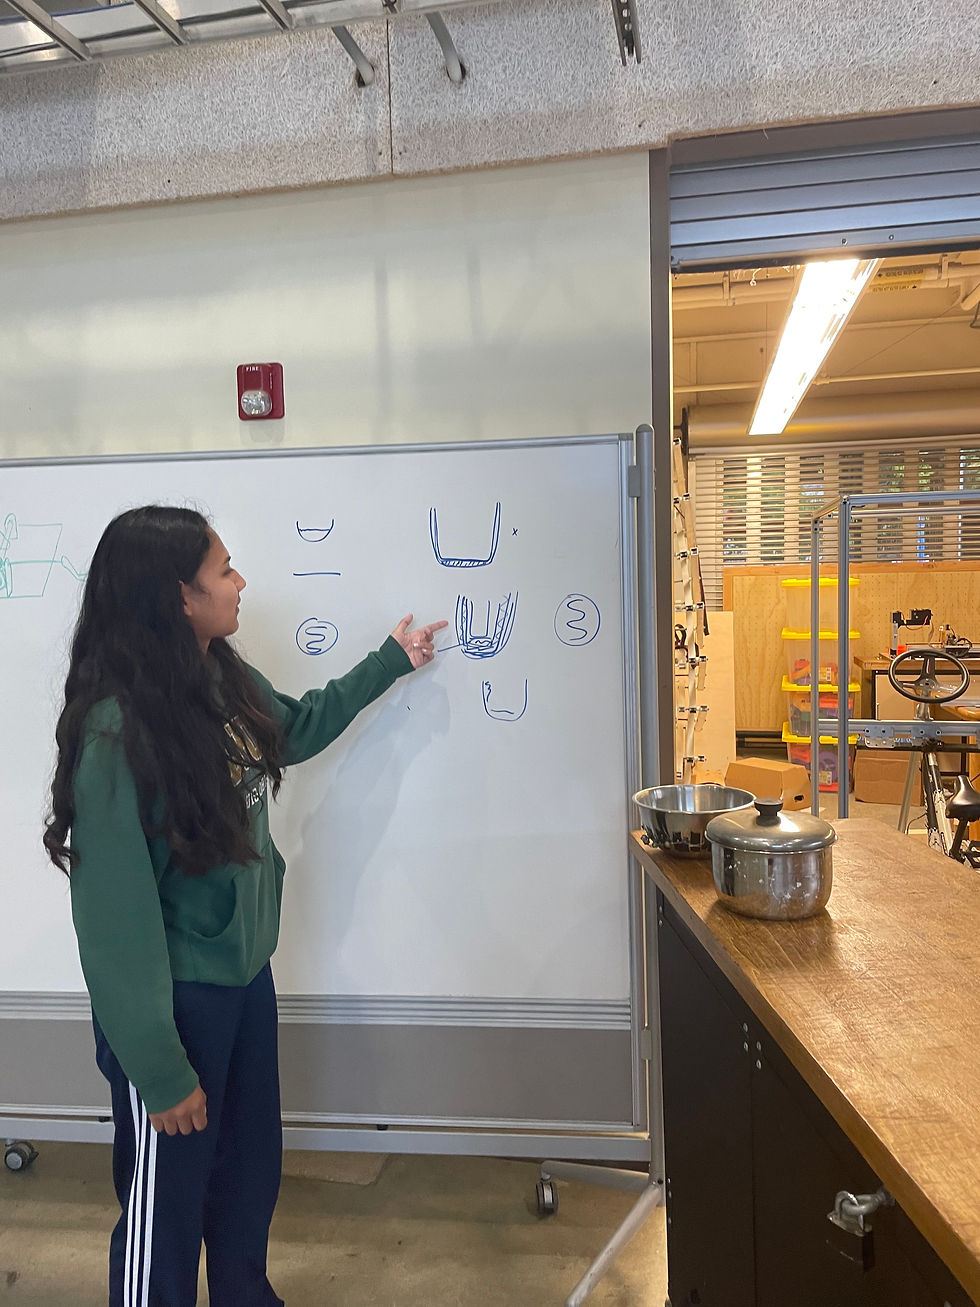
Pictured Above: Cole, Second-Year Business Administration Student, experiments with various pot inserts to be used in final product.
Monday's lab focused on an important step in our group's insulated solar cooker design process. After casting the main concrete base component, we needed to test and select an appropriate inner container to hold food while cooking.
The team brought in an array of different pots, buckets and containers from home to try out sizing options. We evaluated each possibility by fitting it inside the concrete base to check for proper radius and clearance.
After numerous tests, the group ultimately landed on a specific pot size that our professor happened to have tucked away, unused, in his office storage cabinet. The depth and diameter allowed for essential insulating air space while still fitting snugly.
With the interior container selected, the team can now proceed to the final stages of insulation, sealing and finish work. They are excited to put their fully constructed solar cooker to the test before the end of the semester.

Pictured Above: Marilynn, Third-Year ENVM Student, demonstrates the fundamental shifts in our design, relative to previous iterations.
FRIDAY - IMPROMPTU LAB SESSION
Mustang Machine Shop Sendoff
With finals week rapidly approaching, the student-run Mustang Machine Shop is closing its doors until next semester. This presented a timely opportunity for my project group to have an ad hoc lab meeting and get cracking on our insulated solar cooker mold before the facility shut down.
We spent a few concentrated hours at the Machine Shop making full use of the resources and workspace available to us. The staff was tremendously helpful and accommodating as we prepared our mold design. They patiently walked us through the proper techniques for mixing up a fresh batch of Quikrete concrete. With their guidance, we were able to carefully pour the concrete into the mold cavity in the distinct shape of our cooker design.
Once the concrete had enough time to cure, we methodically removed the exterior mold piece-by-piece, leaving just the solid concrete base component behind. It was immensely satisfying to see our design finally take physical shape.
We want to express sincere gratitude to the Machine Shop staff for their support throughout this process. Their expertise and dedicated assistance was invaluable in allowing students like us to turn our sustainable design concepts into reality. Despite the end-of-semester time crunch, they went above and beyond to ensure we had access to the tools and space we needed.
One big step closer to completing our insulated solar cooker project! While we'll miss having the Machine Shop available, we're energized heading into finals after this productive work session.

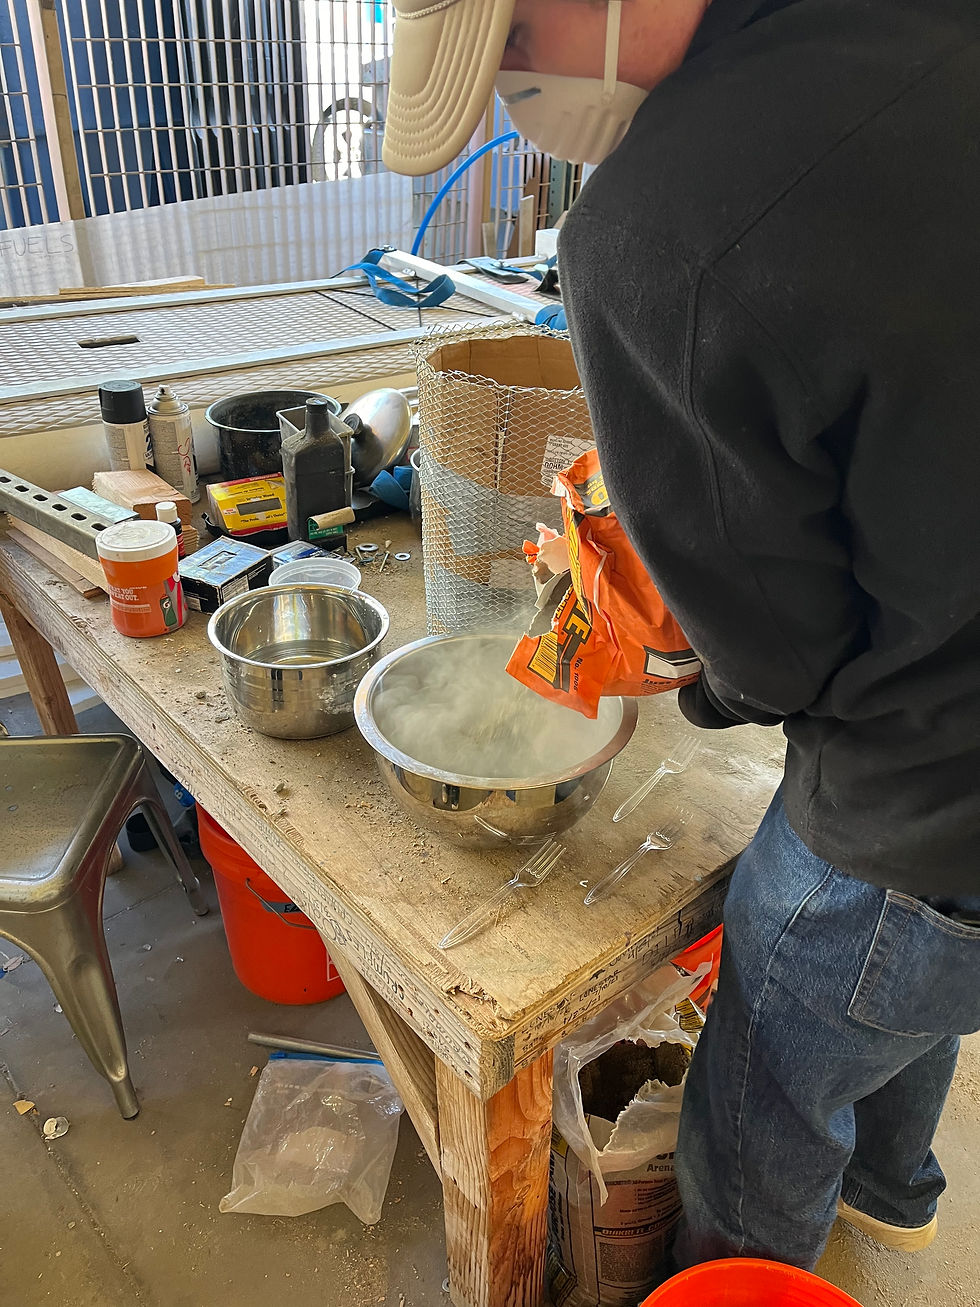
Pictured Above: Henry, Third-Year EIM Student, pours Quikcrete into a mixing bowl to be measured, and mixed with water, while wearing protective masking to mitigate inhalation.
Back on Campus After Disciplinary Suspension - Recap of Disciplinary Action
Henry recently returned to campus after serving a two-week disciplinary suspension from the Cal Poly Police Department, accompanying a misdemeanor charge for obstruction of traffic. While Henry was never jailed, they were barred from all university grounds for participating in a peaceful protest demanding a ceasefire in Israel's increased military occupation and divestment from Cal Poly's financial ties to Israel's hostile government & military.
Though disappointed to see the inaction that followed, Henry was relieved to resume classes again and to support his peers in the final days of the quarter. Despite the discipline issued, he remains passionate about student activism and encourages other students, at Cal Poly and abroad, to continue advocating for issues like these that directly affect their campus community.
Making the Concrete Bucket Base
Rather than build an elaborate multi-piece mold, our group got creative with common household and hardware store items to cast the concrete base for our solar cooker design. We settled on using the 5-gallon plastic bucket from Home Depot as the exterior form.
While shopping at Home Depot, we purchased a roll of chicken wire mesh to create an interior lining. This would act as the exterior "negative" shape that the concrete would form around after being poured into the cavity between it and the bucket.
Pictured Above: Alycia & Marilynn insert the chicken wire structure and pack in cement, before inserting the cardboard mold, to ensure proper spacing is available for cookware.
To make the chicken wire lining, we simply measured the circumference and height of the bucket interior. We then cut the mesh to those dimensions and used zip ties to form it into a open-ended cylindrical shape. Then, we used the remaining wire to create a circular flooring to one side of the cylinder, to be placed in the bottom of the bucket.
For the interior wall, we cut a thick cardboard panel to match the height of the bucket, then traced and cut out a circular insert slightly smaller than the bucket's diameter. This cardboard ring was then dropped into the bucket, along with a bowl of comparable size to the intended cookware, to create the inner mold space.
As you can see in the image farthest to the left (above), the sides of the bucket are reinforced with duct-tape. After picking up the cement and orange bucket from Home Depot, Alycia cut a line directly down the center of the orange bucket mold, since she anticipated the mold being difficult to remove. This ended up saving a lot of time and ensured that the concrete is not exposed to unnecessary erosion after it has been cured.
With the cardboard ring centered, we placed the chicken wire cylinder around it, using small pieces of the mesh bent into hooks to keep it evenly spaced from the cardboard.
Pictured Above: Henry & Alycia take turns mixing Quikcrete with water, while wearing protective gloves to ensure safety from concrete burns.
Once the cardboard and mesh inserts were secure, we proceeded to gradually fill the remaining cavity with our Quikrete concrete mix from top to bottom. After allowing only a few hours for curing, we removed the cardboard interior ring, then carefully extracted the pre-cut plastic bucket exterior and we were pleasantly surprised with the results.

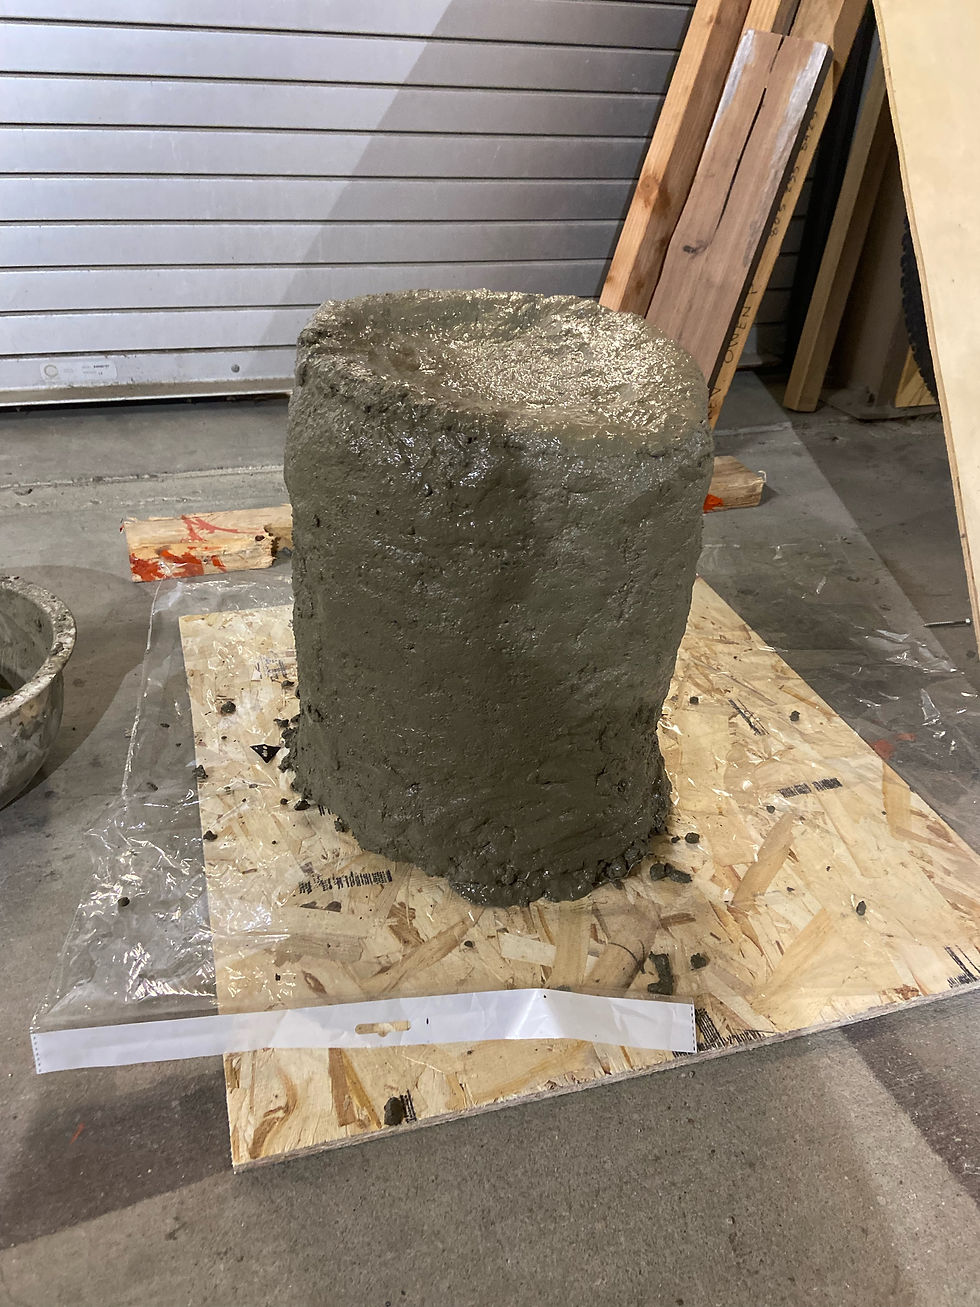
Pictured Above: The finished concrete mold to be used as an in-class example next Friday, during our Potluck group presentation final.
This innovative solution saved us considerable time and effort compared to building a wooden frame mold. It just takes some creative thinking to construct cost-effective molds using inexpensive, readily-available materials.


Comments